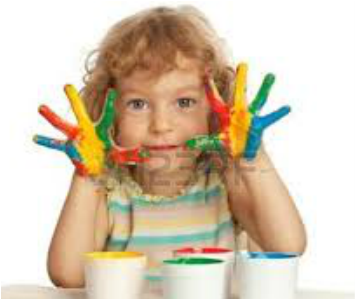
Keeping the grandkids happy and occupied can sometimes tax even the most creative mind. Here are a number of activities you might like to think about. They're easy to do and cheap to fund and should keep them happy for hours. If you have any ideas we can pass on to other grandparents use our CONTACT US form to share it with us and we'll share it with our readers.
PAPER SNOW FLAKES
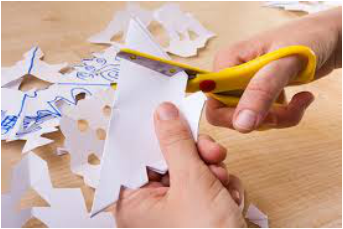
Even though we may be in the southern hemisphere, it's still fun to think about a traditional snow-bound Christmas. Pretend you're in snow covered climes and make a whole series of snowflakes to decorate your windows.
Fold a square piece of paper in half diagonally. Cut small sections out all over the paper and round off the corners of the paper. The bigger the cuts you make and the shapelier the cuts are, the more flair your snowflake will have. Fold the paper in half again, and take another few cuts out of it in a different spot. Fold the paper again, and carve another shape or two into the edges. Make a few final cuts, and unfold the paper to see the results. You should have a great snowflake. Mount several on the window and pretend that you're having a northern hemisphere Christmas. And if you want to get really crafty here's a link to a site with fabulous free snowflake patterns for you to try.
Fold a square piece of paper in half diagonally. Cut small sections out all over the paper and round off the corners of the paper. The bigger the cuts you make and the shapelier the cuts are, the more flair your snowflake will have. Fold the paper in half again, and take another few cuts out of it in a different spot. Fold the paper again, and carve another shape or two into the edges. Make a few final cuts, and unfold the paper to see the results. You should have a great snowflake. Mount several on the window and pretend that you're having a northern hemisphere Christmas. And if you want to get really crafty here's a link to a site with fabulous free snowflake patterns for you to try.
IT'S ALL ABOUT YOU
A fun game that gives both you and your grandchildren a chance to get to know each other even better. Take an index card and write down five things about yourself – four of which are true, one of which isn’t. Each player has to guess which statement is NOT true.
MAKE AND BURY A TIME CAPSULE
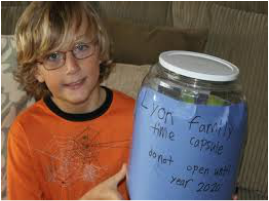
Using a large jar with a good, tight seal, make a time capsule by filling the jar with items that reflect this moment in time – a newspaper with events of the day; a television guide, to give people an idea of what was on; personal photographs, and any other significant items. Bury the time capsule and write down the exact location. Put that piece of paper in the file with your will or in a safe place. After a year or two, invite the grandchildren to dig up the time capsule and have fun remembering the day it was made and the things they thought were important at the time. If you don't have anywhere to bury the time capsule, you can seal it up and put it at the back of a wardrobe or cupboard and still have the fun of opening it at some future date.
VINEGAR VOLCANO
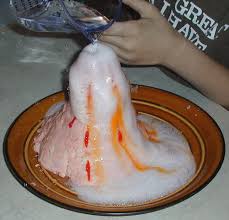
Chemistry is cool. This is a classic science experiment, and an easy one at that. To make the volcano, mix 6 cups flour, 2 cups salt, 4 tablespoons cooking oil, and 2 cups of water. The mixture should be smooth and firm. Stand a soft drink bottle in a baking pan or shallow dish, and begin to shape the dough around it. Don’t cover the hole and don’t drop any of the dough into it. Fill the bottle about three-quarters full with warm water and a few drops of red food coloring. Add 6 drops of liquid detergent to the bottle, and 2 tablespoons of baking soda. Finally, slowly pour vinegar into the bottle and step back!
CUSHION CUBBYHOUSE
Kids love a secret hiding place to call their very own. On a rainy day, use the cushions of your couch and chairs, old pillows, and a few blankets, and arrange them around the rest of the furniture to create a cubby house or a fort. Leave a space for the all-important tunnel!
FINGER PAINT PRINTS
You'll need some fingerpaint, a plastic tabletop or table cloth and some large sheets of plain paper. You can purchase commercial fingerpaint, or you can make your own from the recipe here. Place a small amount of fingerpaint onto a plastic tabletop or tablecloth, and have your child mess around until her design is complete. Have your child wash and dry his or her hands thoroughly, then place a large sheet of paper on top of the fingerpainting. Rub all over the back of the paper with clean, dry hands. Slowly lift the paper off the table and hang to dry. Now get them to sign their masterpieces.
Coloured playdough
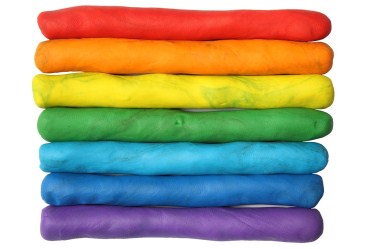
Play dough provides hours of fantastic fun and it's sop easy to make. You'll need:
1 cup water
1 tablespoon vegetable oil
1/2 cup salt
1 tablespoon cream of tartar
Food coloring
Saucepan
1 cup flour
Directions
Combine water, oil, salt, cream of tartar, and food coloring in a saucepan and heat until warm.
Remove from heat and add flour.
Stir, then knead until smooth. The cream of tartar makes this dough last 6 months or longer, so resist the temptation to omit this ingredient if you don't have it on hand.
Store this dough in an airtight container or a Ziploc freezer bag.
MAKE your own coloured chalk
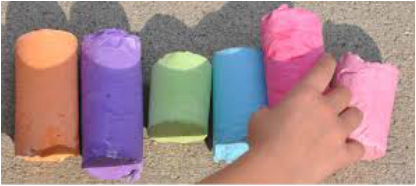
Spending the afternoon creating a sidewalk masterpiece is a great way for kids to enjoy a fine day. But long after their fantastic artwork has washed away, they will remember
making their own colored chalk.
You'll need:
1 cup plaster of Paris
1 cup water
Powdered tempera paint
Mold for chalk (small paper cups, ice cube trays, tissue rolls, etc.)
Mixing bowl and spoon
Directions:
In a large bowl, mix the water and plaster of Paris together.
Add the powdered tempera paint to the mixture.
Once the paint has been mixed in well, set it aside for a few minutes.
Pour the mixture into the mold and let it dry. This can take anywhere from several hours to a day or more, depending on the size of the mould. The bigger the mold, the longer it will take to dry.
Once the mold is dry, remove the chalk. If the chalk is still moist, let it air dry for another 24 hours.
Now your kids can have hours of fun drawing with the chalk they created. Anything they draw will be washed away by the rain, so don't worry if they accidentally get some on the side of your house!
MAKE A tissuepaper kite
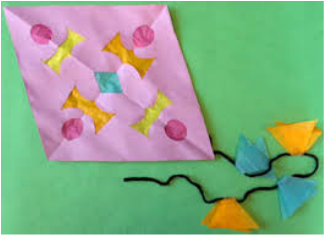
Your kids can make their own kites using tissue paper, and will have a ball flying them.
Cut two pieces of construction paper into the shape of a kite, and cut shapes of varying sizes into each one so they are symmetrical.
Glue or tape tissue paper over each cut out on one of the pieces of construction paper, and then glue or tape the other piece of construction paper on top, so the tissue paper shows through the holes on each piece of paper.
Attach a tail of yarn and a piece of string, and head outside to fly your kite!
