Mosaic garden art...easier than you think.
Here are three simple projects that will add a special touch of artistry to your garden. You don't have to be crafty to achieve them and at least one could even be done with grandchildren involved. So let your creativity run riot and colour up some of those drab and shady nooks with your very own garden art.
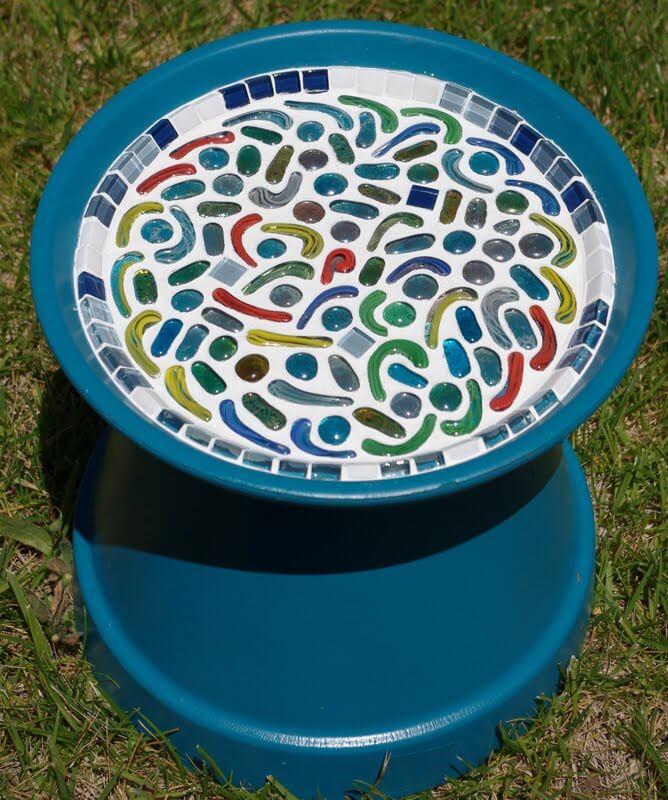
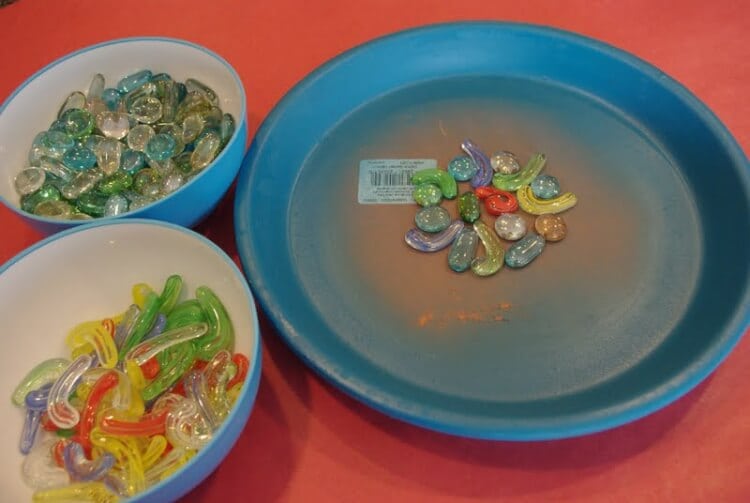
MOSAIC BIRDBATHThis birdbath project is simple and inexpensive, so you could do it as a project with grandchildren, though there are some messy parts that will require adult assistance. You will need:
Start by painting your pot and saucer with a couple of coats of spray paint if you plan to do this. If you prefer to leave the pot and saucer as raw terracotta that's fine, just omit the spray paint.
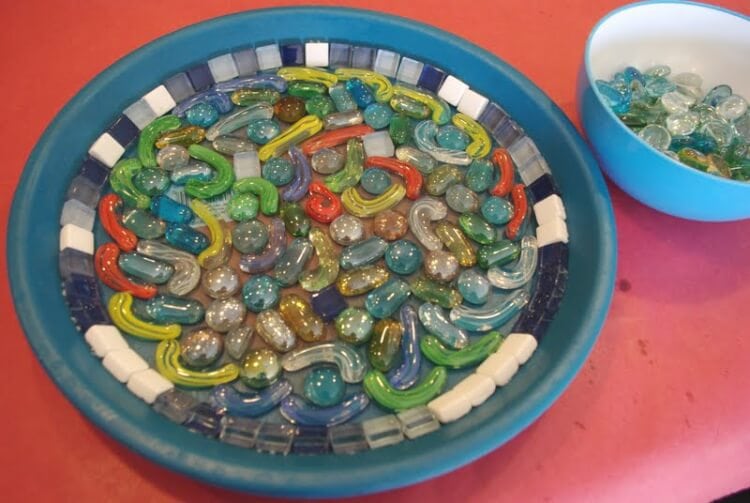
Use strong adhesive to glue the glass mosaic pieces and tiles to the inside of the saucer. You might need to help little ones here. Make sure you open the windows if you're inside to ensure adequate ventilation. If you're doing this yourself you can pre-plan your design pattern but if you're doing it with grandchildren let them create their own design. It doesn't have to be symetrical. You could start with a random assortment of glass shapes in the centre, and then create a border with small square tiles to clean up the edges of the design. Glue each glass piece or tile individually until the entire saucer is covered. Make sure you leave enough room between the pieces for the grouting.
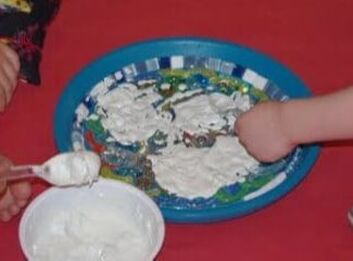
After your mosaic pieces are glued down, let the glue dry for several days before proceeding on to the next step. Make sure the grout you buy is recommended for standing water applications; not all grouts are. Mix the grout with water according to the instructions and let the children apply it with plastic spoons. Make sure that the grout fills in all of the cracks between the tiles and glass gems. When the entire saucer is sufficiently covered let them take turns to wipe off the excess grout to let the tiles and glass gems shine. You may have to give them a helping hand with the final clean-up.
Let it sit to dry for an hour and then use a damp sponge to finish cleaning off the remaining residue from the tiles then let it sit for several days to cure.
Finally, use your strong adhesive to attach the mosaic saucer to the flower pot base. |
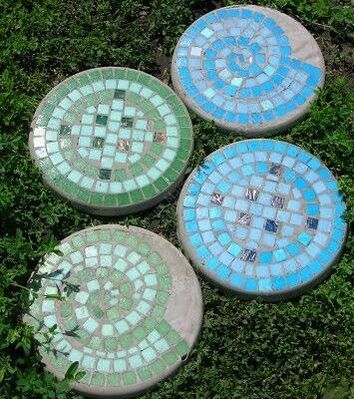
MOSAIC STEPPING STONESThese stepping stones will add a unique touch of art to your garden. Unique? Definitely, because no-one else will ever have your particular designs.
You can make each one different with a variety of bright colours and mosaic tile shapes or you could have several with the same design or colour palette to create a co-ordinated path through your garden. Whatever you decide you'll find this project incredibly easy. You'll need:
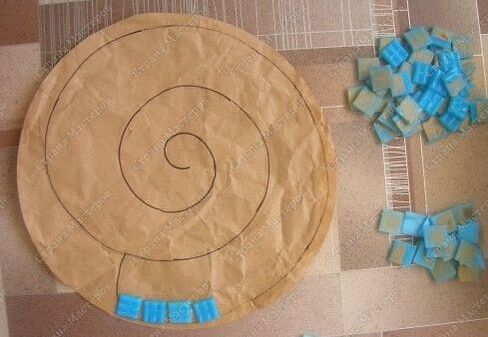
1. Cut a piece of kraft paper according to the shape of the plastic wash basin and sketch your design or pattern of stepping stones on it.
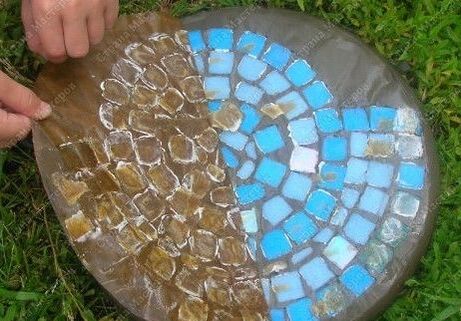
2. Place the mosaic tiles on the paper according to the sketch until all the paper is covered and you have an idea of how it looks. For each tile, apply glue to the front side of it and glue it upside down on the paper according to the sketch, so the back side of the tile is actually facing up.
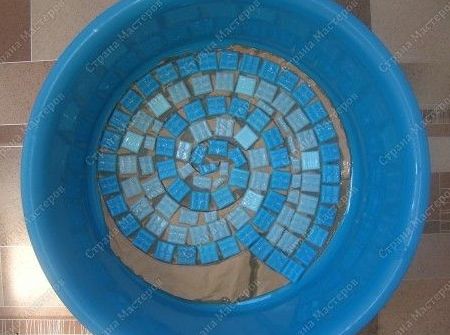
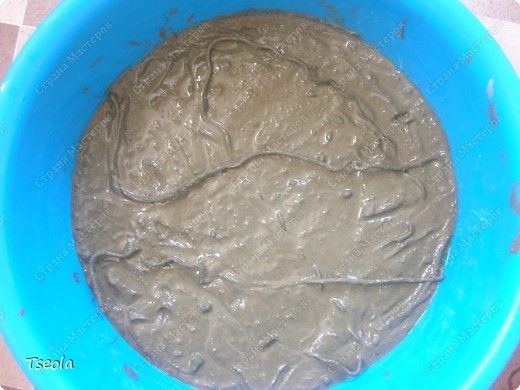
3. After the glue is dry, place the kraft paper in the basin with the mosaic tile side facing up. You can oil the inside of the basin to facilitate the release of the cement. Mix together concrete and water in another container as per the instructions of the concrete and pour liquid cement inside the basin to your desired length (about 2.5 to 3 cm).
4. Smooth the surface and leave to dry for a day or two away from the sun.
5. Take out the mold from the basin and remove the kraft paper.
6. Clean off the remains of the kraft paper and glue.
7. For the best result, wrap each tile in a plastic bag for final drying. Wait for about a week before installing in your garden.
|
MOSAIC TUBE PLANTERAnother simple and inexpensive project. You will need:
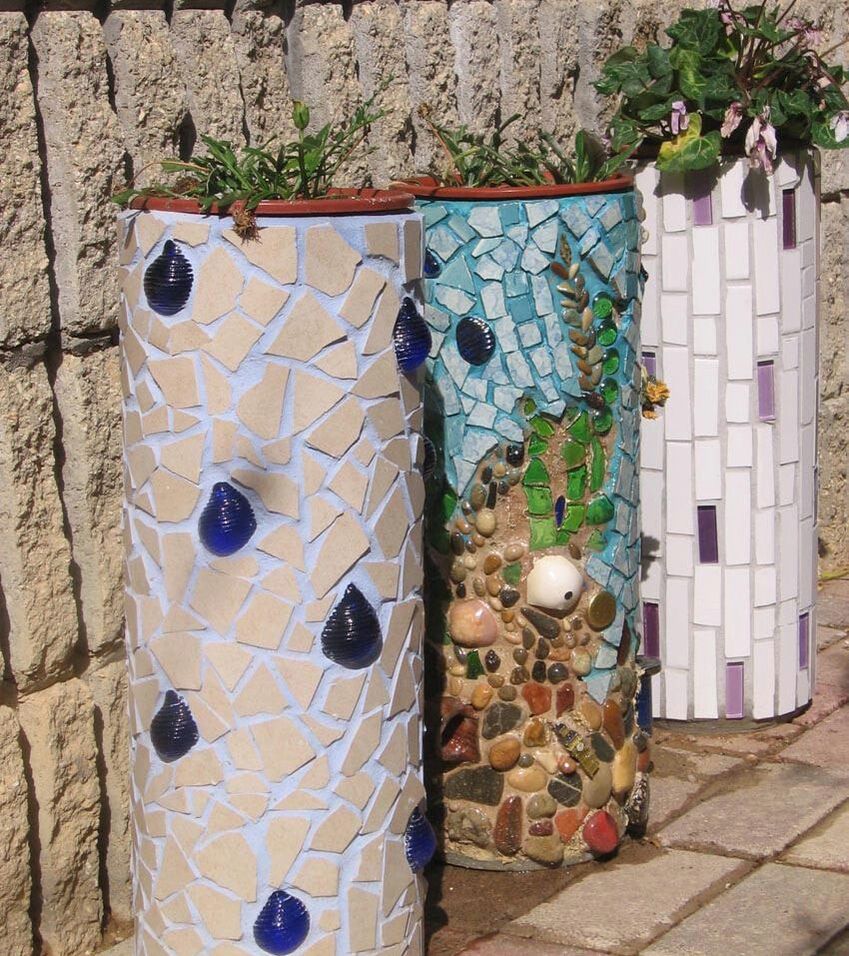
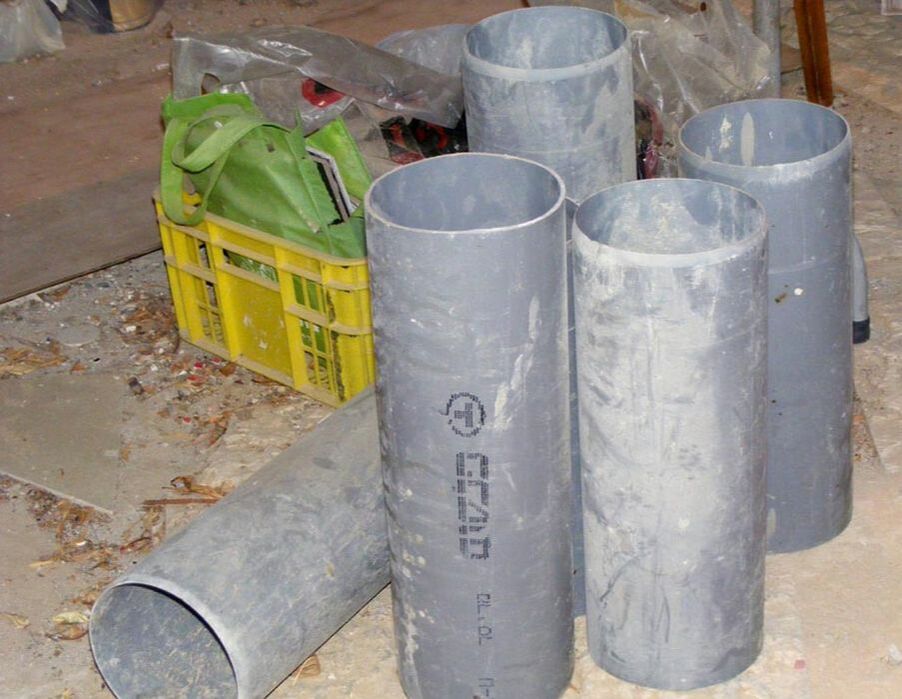
• Mosaic tiles... glass, ceramic or plastic. Source them from a dollar store, craft shop or tile supplier. • Mixed materials of special shape... broken china, ordinary tiles, pebbles, shells, snails... whatever you think might make an interesting design • Grout. (Consider which colour might work best for your design. It doesn't have to be white.) • Tile adhesive or mosaic adhesive • PVC pipe (leftovers following construction would be ideal or you can buy pre-cut lengths from your hardware store) If you intend to make a cluster of planters decide what height to want each of them to be. If you're going to stand several in a line, it's better to have them all one height. Start by planning out your design. You don't have to be precise, just work out how you're going to lay the mosaic tiles or any other material to make your pattern. Decide what colours you want to use and whether the design is going to include only tiles or a mixture of tiles, stones and found objects. There are no rules. Make up something totally random or something with a more formal structure. Once you've decided what you intend to do you can start construction.
Now use tile adhesive or mosaic glue to glue the various pieces onto your pipe. Start from one edge and work your way up or down. It's often easier to work on a table to do the bottom half. Build you pattern up layer by layer, making sure to leave enough space between the pieces for the grout. Let the glue dry for a couple of days so it's fully set. Once the glue is fully dried, mix your grout with water according to the instructions and apply liberally between the tiles. Don't worry if you get it all over the tiles as well as you'll be cleaning it up before it sets. Wipe off the excess grout and then let it dry for an hour before doing a final clean-up with a damp sponge to leave the tiles clean and shiny.
If you're doing planters with different colour schemes, consider getting a range of grouts to suit the colour of the tiles or other materials. Now position your planters where you want them and place your pots in the open top. Pots with trailing foliage look particularly good. |
