Pipe cleaner bunnies.
|
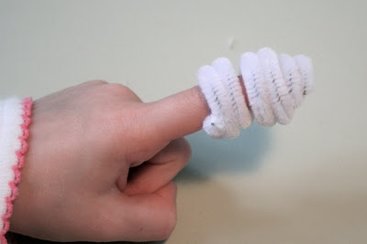
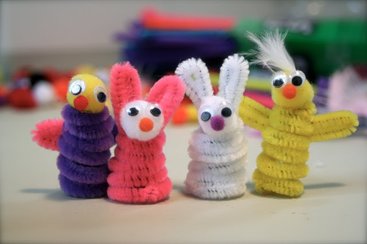
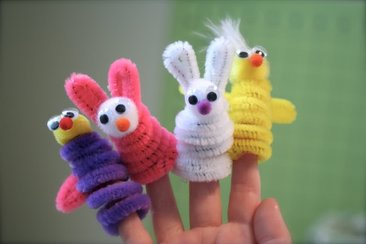
Make your own little Bunny Finger Puppets and then stage a mini puppet show.
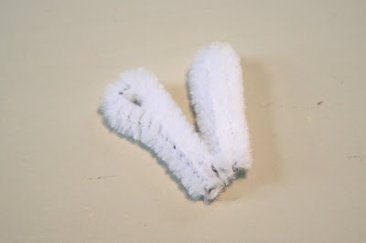
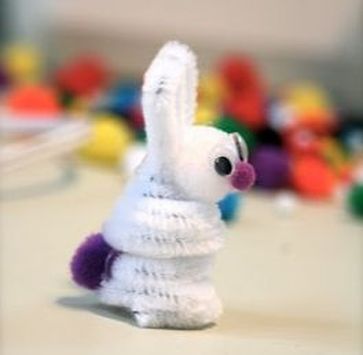
Here's how: 1. Wrap a pipe cleaner around your or your child's finger. Do it tightly so it won't fall off during the show. 2. Out of another pipe cleaner, make an M shape, forming two bunny ears. Snip off the extra. 3. Stick the ears just inside the coiled body and secure with a dab of hot glue inside. Be careful not to add too much or there won't be room for fingers. 4. Add googley eyes abd a puff-ball nose from the craft shop and any other decorations to like to make each one individual... think bows, wool for hair, tiny hats... You could even be very creative and think up different animal shapes you might like to make. 5. Take a favourite story and change the characters to match the puppets you've made and have your little ones act it out behind a chair. |

|
|
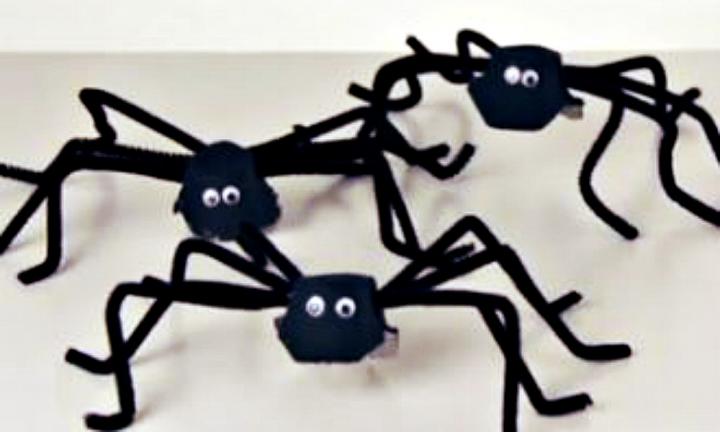
Egg carton spiders.
|
Create cool, creepy-crawly egg carton spiders with this fun art and craft kids' activity.
What you need
|
|
Cut the bumpy half of your egg carton into individual egg cups.
Using the skewer or sharp pencil, make eight holes in the bottom edge of each egg cup, four on each side (see note), these are for your pipe cleaner legs to poke through. Paint each egg cup black, and let dry.
Push a pipe cleaner in through one hole and out the opposite side's hole. Bend the legs at halfway for knees and then a small section at the end for the feet. Repeat for each of the legs.
Glue on googley eyes, and your egg carton spider is ready to pounce.
Notes:
- To safely punch neat holes in your egg cups, place a large blob of blu-tac on your work surface, and position your egg cup on top where you want your hole to be. Pierce through the egg cup and into the blu tac with your skewer – this creates a neat hole without harming your fingers! A pen or sharp pencil are also good tools for this job.
- Pre-cut the carton and prepare the holes ahead of time for group or party use.
- You can make your spiders as colourful as you like. Use bright colours and sprinkle on some glitter before the paint dries.
- To hang your spider, pierce a hole in the top of each egg cup, and carefully thread the two ends of a 60cm length of string through the hole, so the ends are inside the egg cup. Knot the ends inside the egg cup so it won't pull out, and hang your spider wherever you wish.
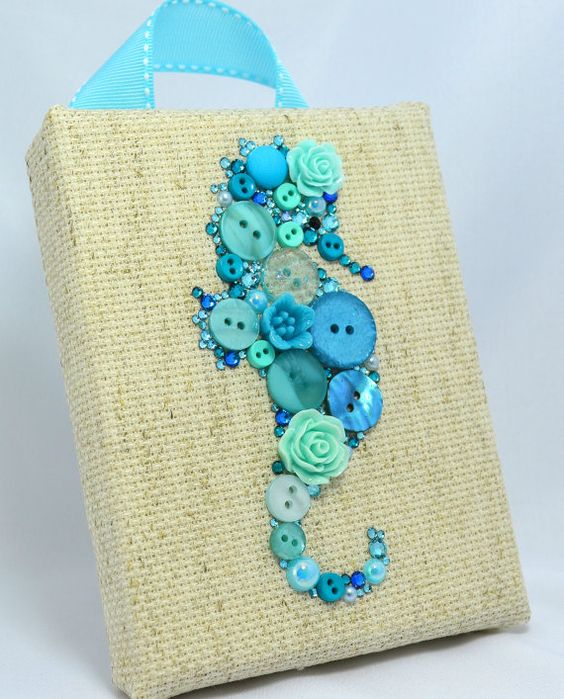
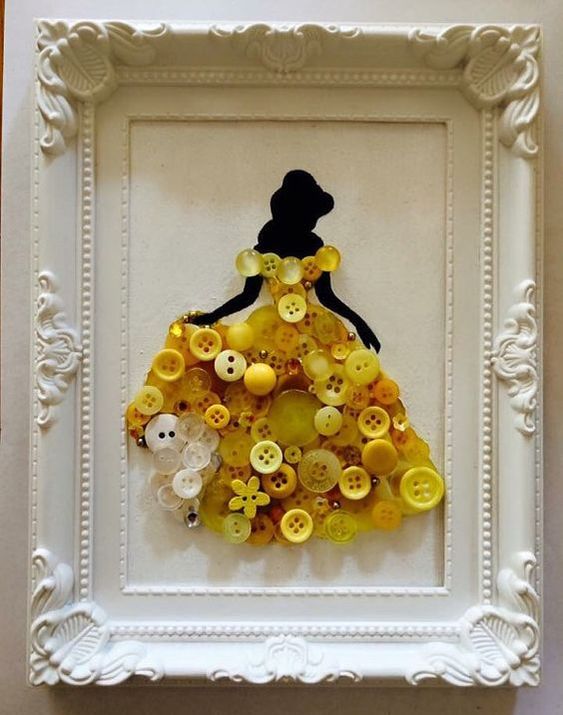
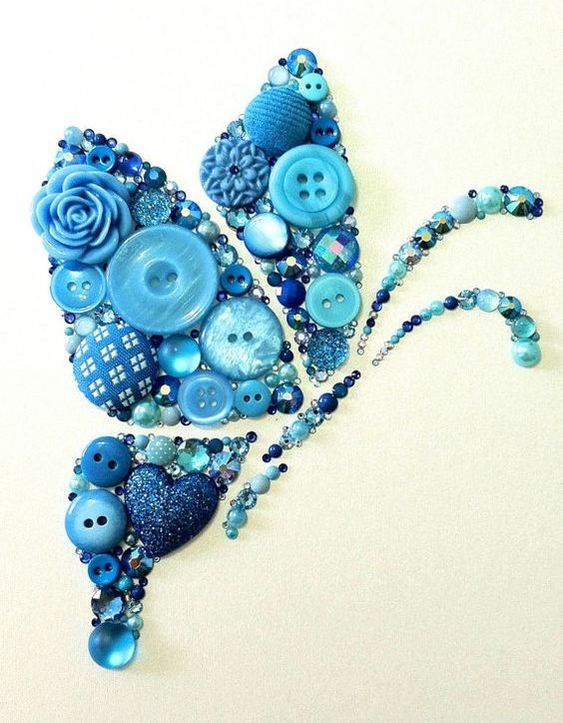
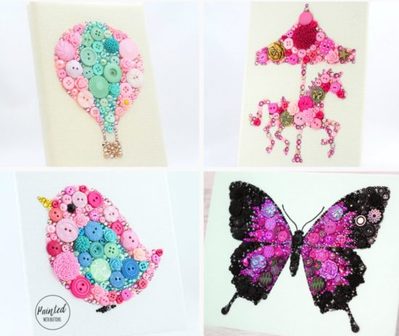
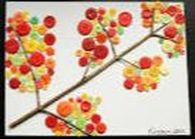
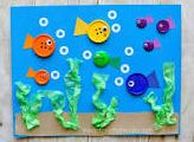
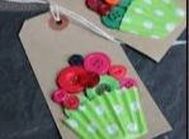
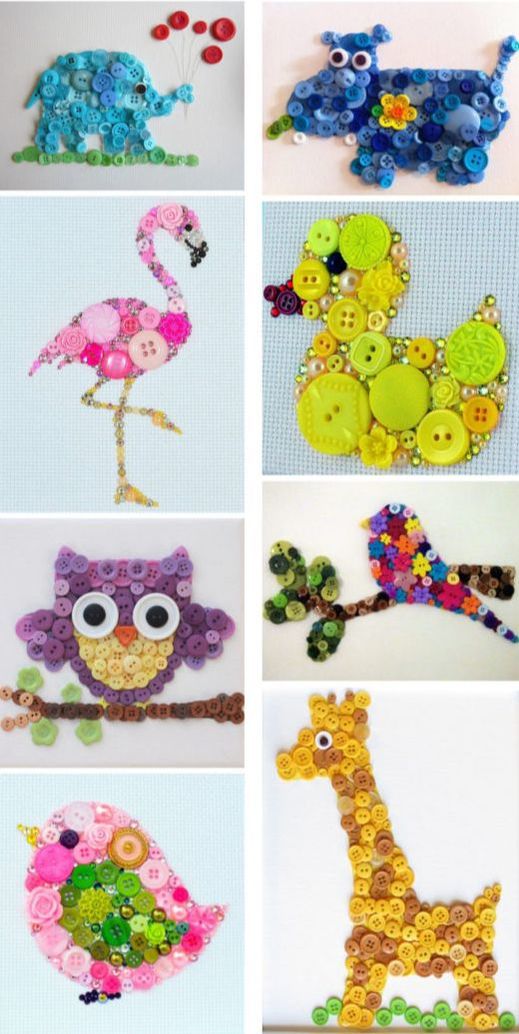
Button craft
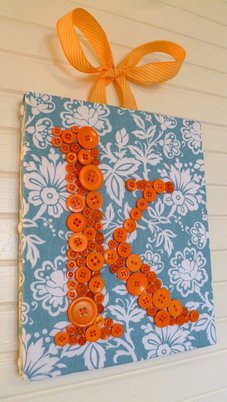
There's no end to the craft you can make using good old buttons. Most people have a button box or button tin with a wide assortment of different shapes and colours. Most craft shops and discount shops sell buttons cheaply, so you won't have to spend a lot if you don't have your own collection.
Let you imagination run riot with projects you can make yourself or create with your grandkids. Think pictures, wall hangings, framed art pieces, even personalised initials for them to hang on their bedroom door. You can sew them if you like but it's much easier if you invest in a cheap hot glue gun. Choose a design that pleases or has a special meaning for a grandchild, select a background and trace out the design shape with a felt pen. You can use painted backgrounds, fabric, wallpaper or hessian. You can also make your button art to suit holiday themes.Then trace another shape onto a piece of paper. Arrange your buttons in your traced shape on the paper. Use bigger buttons in the centre and smaller on the outside to fill the shape. Details and edges can be filled with beads and sequins when buttons are too big to fit. You can add glitter, brooches, glass gems, in fact, anything at all. There are no design rules. |
|

|
|