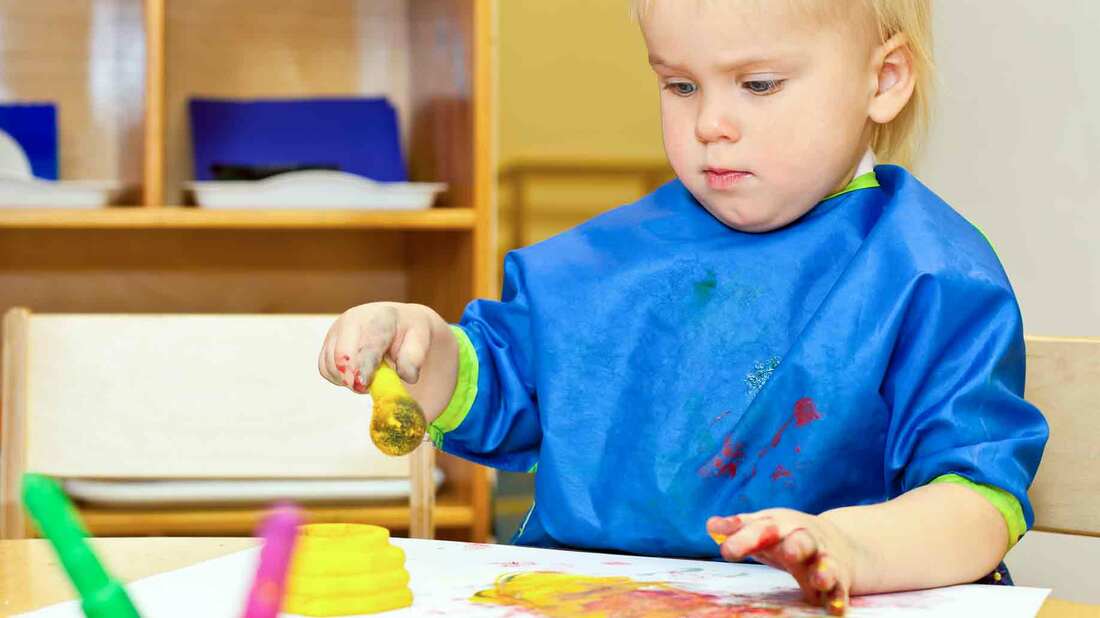
Craft projects that recycle materials have a double benefit. They cut down on waste and provide fabulous opportunities for fun. We've found some wonderful ideas, courtesy of Moneycrashers.com, that kids will love.
10 Recycled craft supply ideas
1. Egg Cartons
Egg cartons can be turned into silly, crawly creatures, such as spiders, caterpillars, and lady bugs. Cut a row of cups from the carton, turn them upside down, and paint. Once they are dry, add wiggly eyes, pipe cleaners, glitter, and stickers.
My oldest daughter is reading all of the works from author Eric Carle at school, so she recreated one of her favorites, the title character from “The Very Hungry Caterpillar.”

2. Cardboard
We rarely throw away cardboard because it makes the best canvas for children who love to paint and color. We use any size cardboard, from big packing boxes to the insides of cereal boxes, and the sturdier cardboard makes a great blank canvas for painting.
My oldest daughter recently made a life-sized cardboard doll by cutting and gluing different sized pieces of cardboard together and then painting them with her favorite colors and designs. However, if your child is not into dolls, use pieces of various sizes to create trains, robots, and jungle animals. Then, use paint, markers, and glue to pull the masterpiece together.
3. Magazines and Old Calendars
Use the pictures in old magazines and calendars to make mosaics or collages. First, have your child draw an outline of a picture on construction paper or cardboard. Next, cut the colorful pictures from magazines or calendars into small half-inch or one-inch squares. Finally, glue the pieces onto the drawing to fill in the outline. Voila, you have a beautiful mosaic!
Use the pictures in old magazines and calendars to make mosaics or collages. First, have your child draw an outline of a picture on construction paper or cardboard. Next, cut the colorful pictures from magazines or calendars into small half-inch or one-inch squares. Finally, glue the pieces onto the drawing to fill in the outline. Voila, you have a beautiful mosaic!
4. Plastic Milk Bottles and Two-Litre Soda Bottles
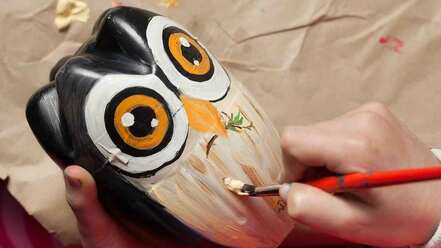
Milk jugs and soda bottles can be cut and made into bird houses, jack-o-lanterns, piggy banks, toy carriers, and bowling pins, to name a few. Wash and dry them thoroughly and use acrylic paint, markers, and stickers to decorate.
To contain all of my daughter’s tiny little doll pieces, we created a beautiful and effective toy carrier out of a plastic jug. To make your own toy carrier, cut the milk jug leaving the handle intact and decorate with paint, stickers, or markers. You now have a toy tote that is light enough for the kids to carry and small enough to store on their book shelf.
5. Paper Towel, Toilet Paper, or Gift Wrap Tubes
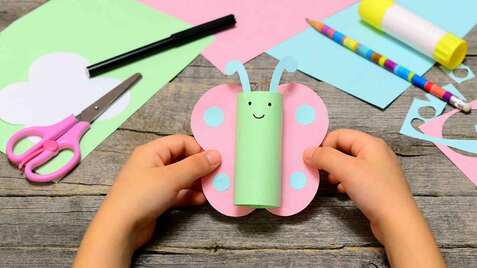
The possibilities are endless with empty paper towel, toilet paper, and gift wrap tubes. For example, two empty toilet paper tubes can be made into binoculars for your “Dora the Explorer” or “Go, Diego, Go!” fans. Just decorate the tubes with markers or crayons, tape together, punch a hole on one end of each tube, and pull a long piece of yarn through to make a strap to slip over their heads. Gift wrap tubes can also be coloured and made into swords. And a paper towel tube can be turned into a wand by decorating the tube with crayons, markers, and glitter-glue, and gluing colourful yarn at one end. Another fun and unexpected use for toilet paper tubes is to turn them into flower petals. Paint the tubes and allow them to dry. Then, flatten the tube and cut into sections about a half-inch wide to create one petal. Pour glue onto a small paper plate and dip one edge of each petal into the glue. Next, arrange the petals on cardboard or poster board to create a flower and draw the scenery with paint or markers.
The possibilities are endless with empty paper towel, toilet paper, and gift wrap tubes. For example, two empty toilet paper tubes can be made into binoculars for your “Dora the Explorer” or “Go, Diego, Go!” fans. Just decorate the tubes with markers or crayons, tape together, punch a hole on one end of each tube, and pull a long piece of yarn through to make a strap to slip over their heads. Gift wrap tubes can also be coloured and made into swords. And a paper towel tube can be turned into a wand by decorating the tube with crayons, markers, and glitter-glue, and gluing colourful yarn at one end. Another fun and unexpected use for toilet paper tubes is to turn them into flower petals. Paint the tubes and allow them to dry. Then, flatten the tube and cut into sections about a half-inch wide to create one petal. Pour glue onto a small paper plate and dip one edge of each petal into the glue. Next, arrange the petals on cardboard or poster board to create a flower and draw the scenery with paint or markers.
6. Shoe Boxes
Shoe boxes can be transformed into a treasure box to store your child’s special keepsakes or into storage boxes for their toys. Simply decorate the box with pictures from magazines or calendars, or construction paper, paint, and crayons.
Shoe boxes can be transformed into a treasure box to store your child’s special keepsakes or into storage boxes for their toys. Simply decorate the box with pictures from magazines or calendars, or construction paper, paint, and crayons.
7. Empty Oatmeal or Potato Chip Cardboard Containers
Empty oatmeal or potato chip containers make great piggy banks. Cut a slit in the plastic lid big enough for coins and bills to pass through. Then, decorate by painting or by gluing on construction paper or magazine pictures.
Empty oatmeal or potato chip containers make great piggy banks. Cut a slit in the plastic lid big enough for coins and bills to pass through. Then, decorate by painting or by gluing on construction paper or magazine pictures.
8. Greeting, Holiday, and Birthday Cards
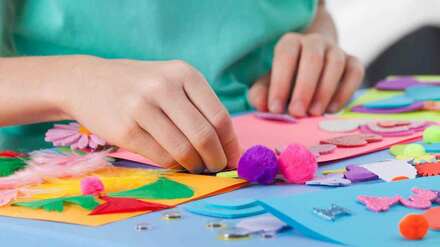
Birthday and holiday greeting cards are often discarded only a couple of days after they are received. This is unfortunate because they provide great graphics for craft projects! Cut out the pictures from the card to make collages and recycled greeting cards.
Birthday and holiday greeting cards are often discarded only a couple of days after they are received. This is unfortunate because they provide great graphics for craft projects! Cut out the pictures from the card to make collages and recycled greeting cards.
9. Nature
Cut a wreath shape out of sturdy cardboard. Then, take your kids for an outdoor nature walk to collect fallen leaves, acorns, dried flowers, and pine needles. Once you have gathered these, use craft glue to attach their nature items onto the wreath. For a very special look, you can paint the cardboard wreath and let it dry before attaching your finds.
Cut a wreath shape out of sturdy cardboard. Then, take your kids for an outdoor nature walk to collect fallen leaves, acorns, dried flowers, and pine needles. Once you have gathered these, use craft glue to attach their nature items onto the wreath. For a very special look, you can paint the cardboard wreath and let it dry before attaching your finds.
10. Large Round Coffee Filters
Large round coffee filters are another canvas alternative. Make a butterfly by flattening one coffee filter. Then, paint with watercolors and allow to dry. Once dry, fold like an accordion or a fan, and twist a pipe cleaner around the center to secure the folds. Next, turn out the edges of your butterfly, and finally, turn down the ends of the pipe cleaner to form the butterfly’s antennae.
Large round coffee filters are another canvas alternative. Make a butterfly by flattening one coffee filter. Then, paint with watercolors and allow to dry. Once dry, fold like an accordion or a fan, and twist a pipe cleaner around the center to secure the folds. Next, turn out the edges of your butterfly, and finally, turn down the ends of the pipe cleaner to form the butterfly’s antennae.
Final Word
Rainy days stuck inside don’t have to be dull and boring. When you give your children supplies and let them use their imaginations, they will stay busy for hours. And you don’t have to spend a lot of money to make a creative environment either. Use the tips above and look around your home for supplies you already have. Then, provide your kids with a safe work area and a little direction, and soon you’ll be flush with masterpieces!
Rainy days stuck inside don’t have to be dull and boring. When you give your children supplies and let them use their imaginations, they will stay busy for hours. And you don’t have to spend a lot of money to make a creative environment either. Use the tips above and look around your home for supplies you already have. Then, provide your kids with a safe work area and a little direction, and soon you’ll be flush with masterpieces!
