No matter what hemisphere you're currently in, whether you're indoors due to the heat or because of the snow, it's always helpful to have a range of craft project up your sleeve to entertain the younguns. Here are a couple of tried and true craft ideas you might like to try.
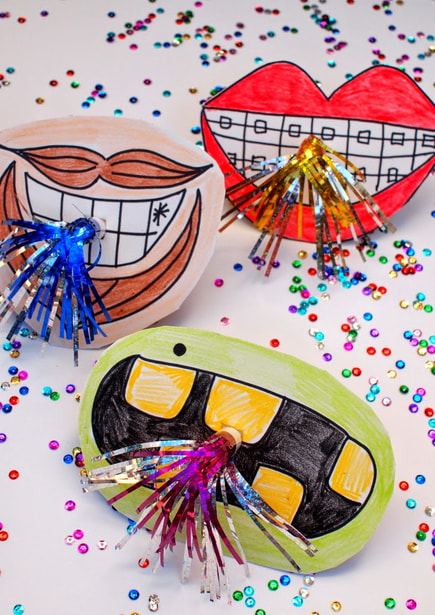
CARTOON BLOWERS
|
A little late for New Year's Eve but lots of fun all the same.
You'll need: Cheap-store party blowers Cardboard Coloured pencils, crayons or markers Step 1. Draw a mouth shape on the card. Let you imagination run riot. Step 2. Add some teeth, braces perhaps, or even a moustache and beard, and then colour it all in. Step 3. Cut around your mouth design. Step 4. Cut an X shape in the centre of your teeth area big enough to insert your blower. Step 5. Push a blower through the centre of the X shape so that the mouth piece is easily accessible. Now have fun making a heap of noise. Try experimenting with different character mouths using ideas from their favourite picture books. |
|
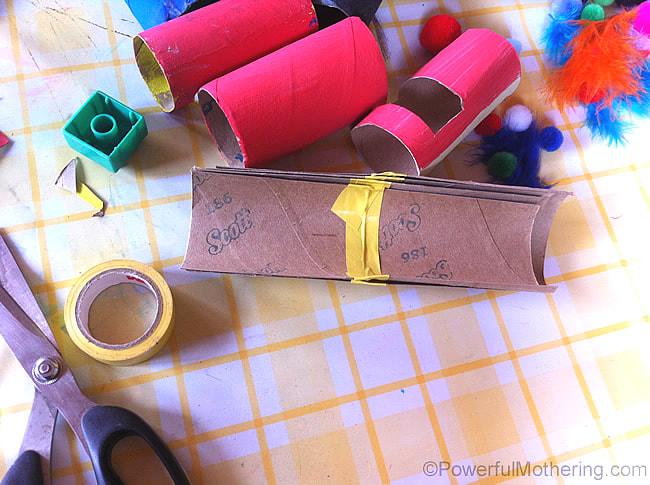
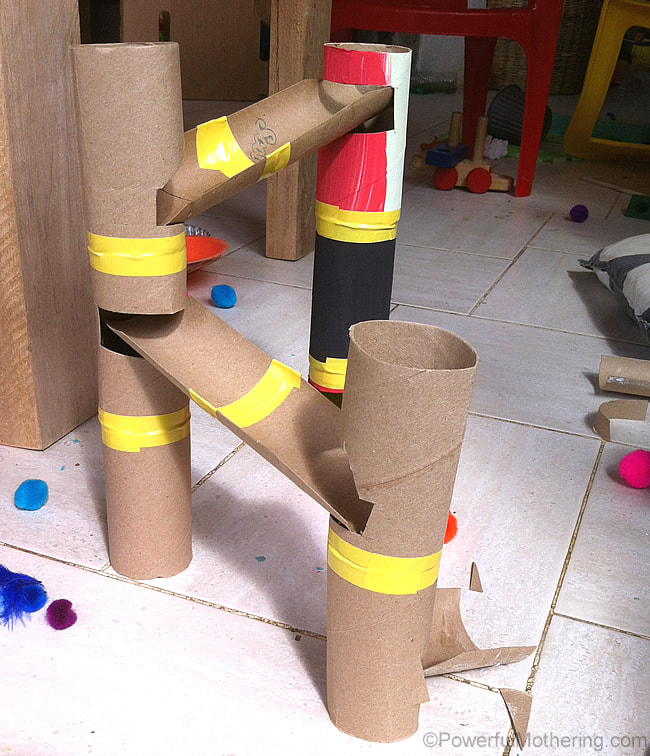
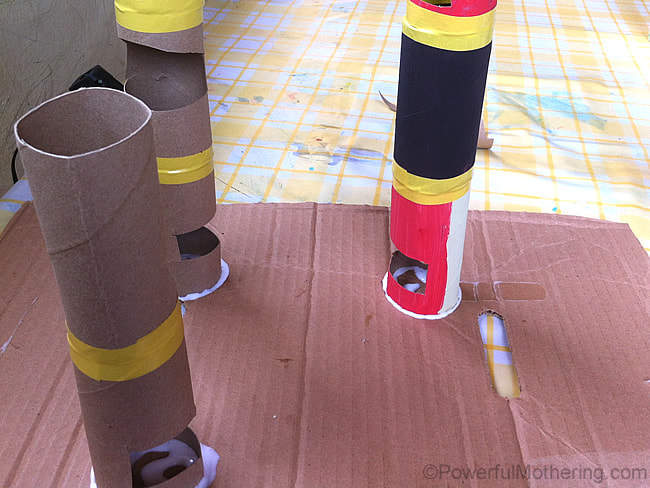
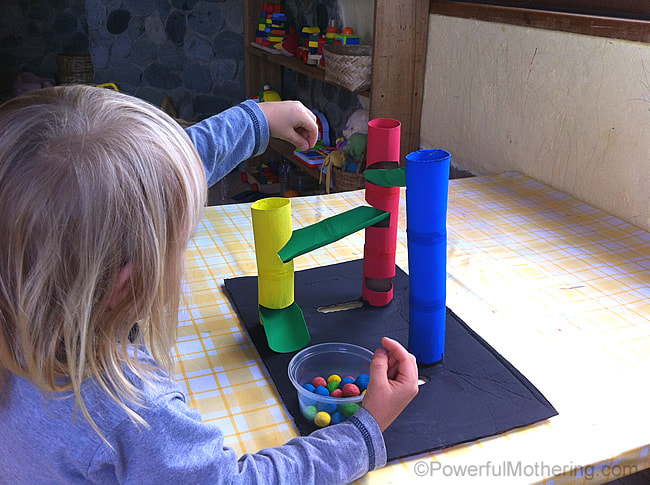
MARBLE RUN
|
You'll need:
Directions:
Older children can help make this simple piece of entertainment (unless you want to present it as a surprise) and they could even help design a bigger run with more towers and shoots. |
|
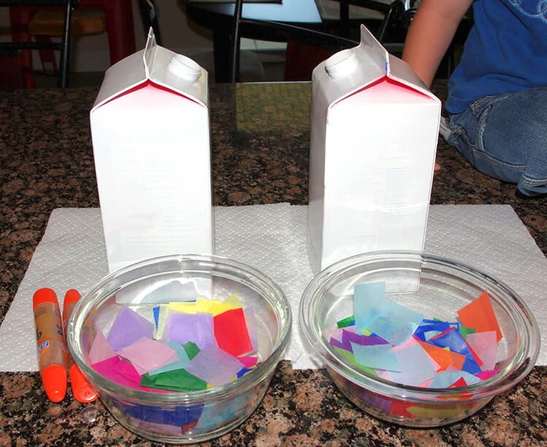
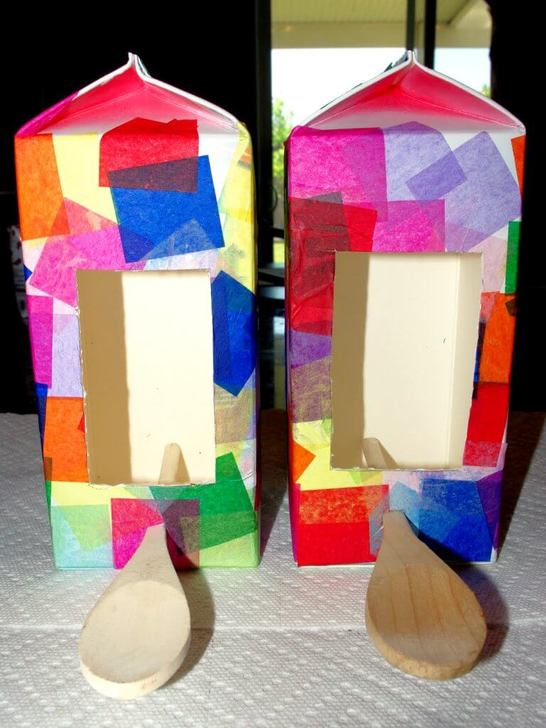
JUICE CARTON BIRDHOUSES
|
Recycled milk carton birdhouses and bird feeders are a fun quick and easy kids craft that anyone can make! Perfect for kids of all ages! Pair recycled milk or juice cartons with fun and colourful craft supplies to create these cheery DIY birdhouses. And the birds LOVE them!
You will need:
Directions:
These DIY milk carton bird feeders are such a fun and easy kids craft, and you can adapt this project to incorporate many different craft materials – it’s a great way to use up excess supplies that you already have on-hand! |

|
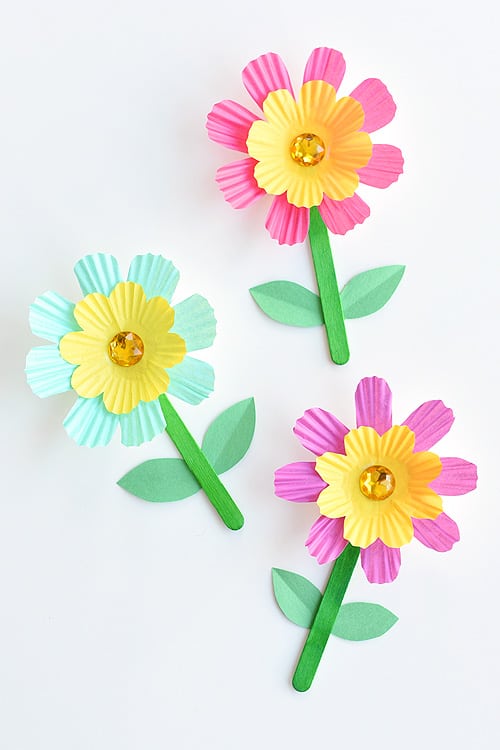
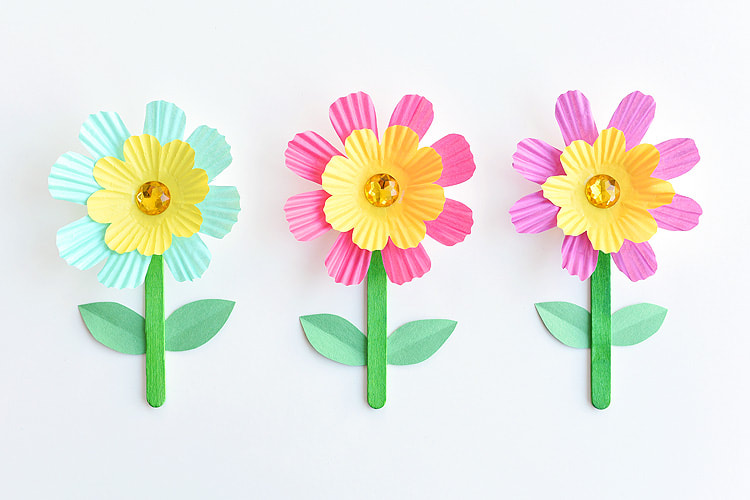
CUPCAKE LINER FLOWERS
|
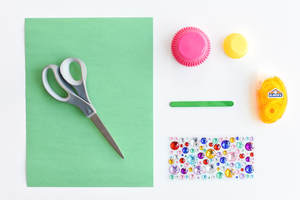
What you need per cupcake:
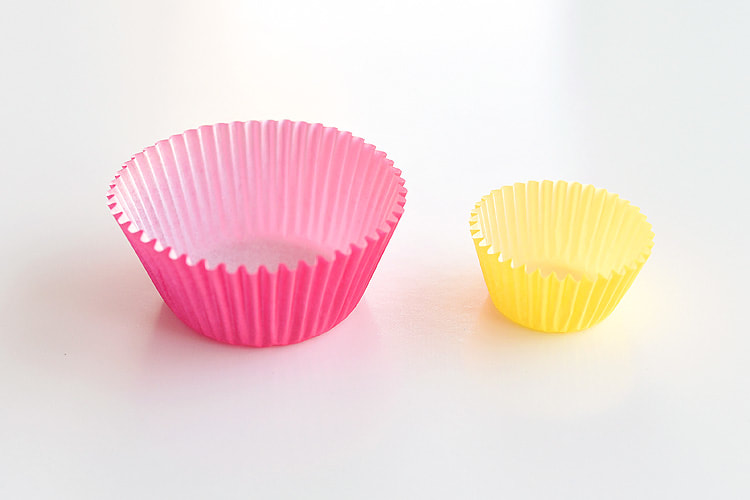
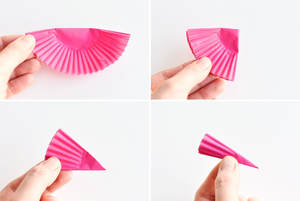
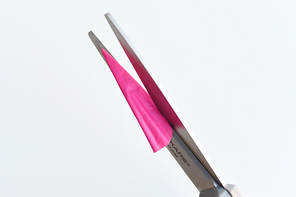
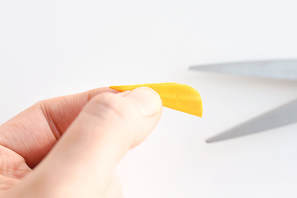
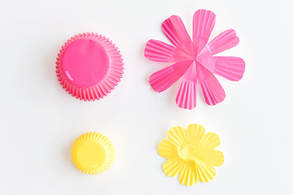
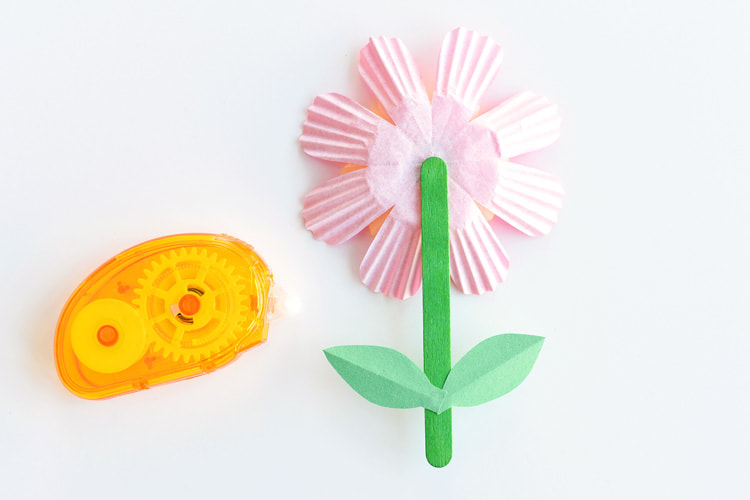
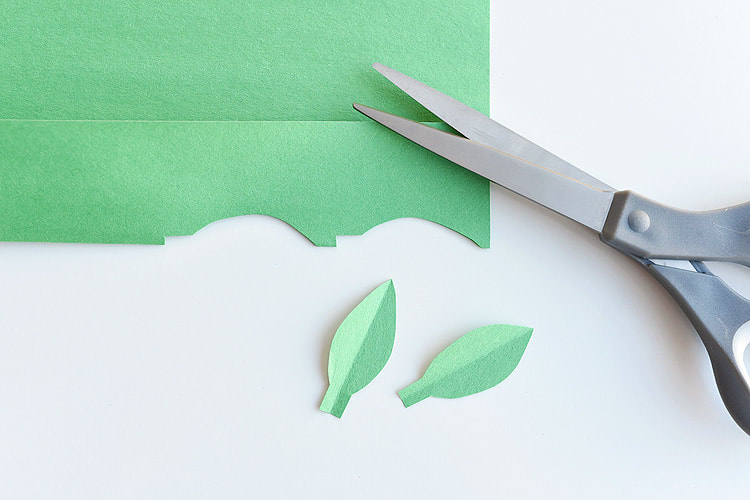
I bought these cupcake liners at Walmart, but it looks like you can get them on Amazon as well. (Here are the affiliate links for regular cupcake liners and mini cupcake liners on Amazon). These two sets have the PERFECT bright and beautiful colours for spring flowers! Start by choosing your colours – one large cupcake liner and one mini cupcake liner. Then flatten them out a little bit so they are easier to fold. They don’t need to be completely flat, but you’ll want to stretch and flatten them just a little bit to make them easier to work with. Fold the cupcake liner in half. Then fold it in half again, again and again. You’ll be folding the cupcake liner in half FOUR times (like in the photos below) so you end up with eight petals. Using a good pair of scissors, carefully cut a curve into the cupcake liner. I recommend starting your cut on the folded edge, like in the photo below. Make sure you cut the curve low enough to give you distinct petal shapes when you open it up. If you didn’t cut it low enough, just fold it back up and cut again. Then fold the mini cupcake liner the same way (fold four times) and cut the curve into it as well. When you unfold the two cupcake liners, they should look something like this. Gently shape the cupcake liners so the bright and bold colour is facing forward and the white side is facing the back. Attach the yellow cupcake liner to the pink cupcake liner with using a bit of crafter’s tape. And now my favourite part… attach a sticker rhinestone to the middle of the flower. Fold a piece of construction paper in by about 1.5 inches. Then cut out two leaf shapes on the fold. Use crafter’s tape to attach the leaves to the back of the popsicle stick and then attach the popsicle stick to the back of the flower. Flip it over and your simple cupcake liner flower is done! It really doesn’t matter what colours you use for these flowers. They work with patterned cupcake liners, or even those standard plain white cupcake liners. Just check your collection, and see what you can find! |
|